
Cornix Trading Bot: A Complete Beginner's Guide
Cornix is an auto trading bot that is becoming increasingly popular among traders as a tool to follow crypto trading signals in Telegram groups. The bot allow users to manager their trades completely through their smartphone with out the need to log into an exchange. This functionality makes it substantially easier for users to follow trades automatically as opposed to doing so manually.
This guide will walk through everything you need to know about Cornix, as well as how to get setup. In this guide expect to find information such as:
- How to sign up for Cornix
- Connecting your Cornix bot to an exchange
- How to manage your trades
- How to subscribe to a signal group
- Setting up auto trading
- General configurations
Before we get into the guide, you should know that the exchanges currently supported by the Cornix bot includes: ByBit, Deribit, BitMex, Binance, Bittrex, Huobi Pro and Bitfinix. You’ll want to make sure that you have an account with at least one or more of these exchanges before getting Cornix.
Registering for Cornix
In order to register for the Cornix bot, the first thing you’ll want to do is download the Telegram app on your smartphone. This can be gotten from the Apple app store on your iPhone, or the Google play store on your android device.
Once done, the first thing you’ll want to do is press the magnifying glass icon in the top right-hand corner of your screen and search for: “Cornix Trading Bot”. A few options might come up in the search results, but ensure to select the bot with the Telegram ID: @cornix_trading_bot.
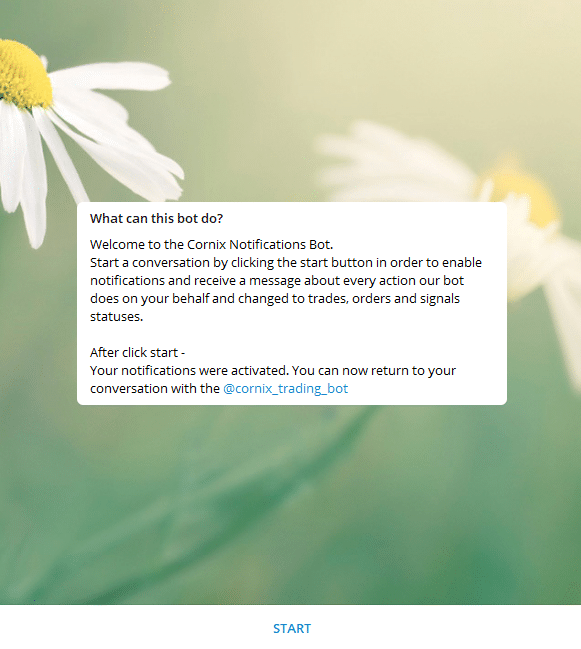
Once you’ve selected the correct one, this will start a conversation with the official Cornix Trading Bot which should lead you to a screen like below:
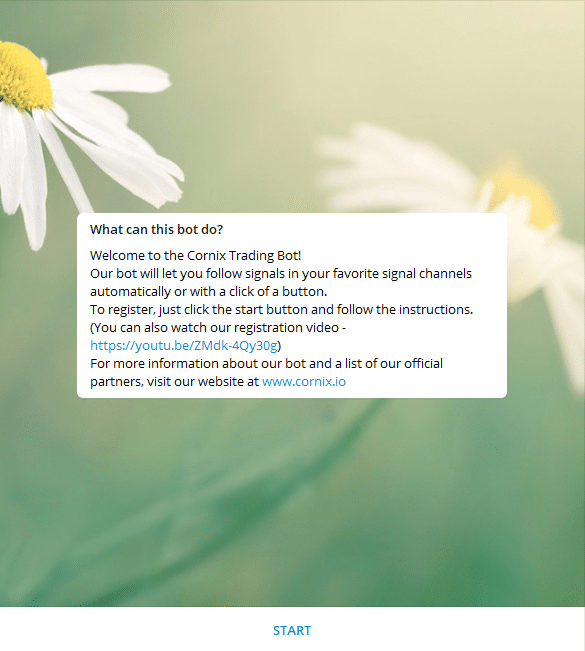 Next, you’ll want to press Start and begin a conversation with the bot, which will then respond with the next steps.
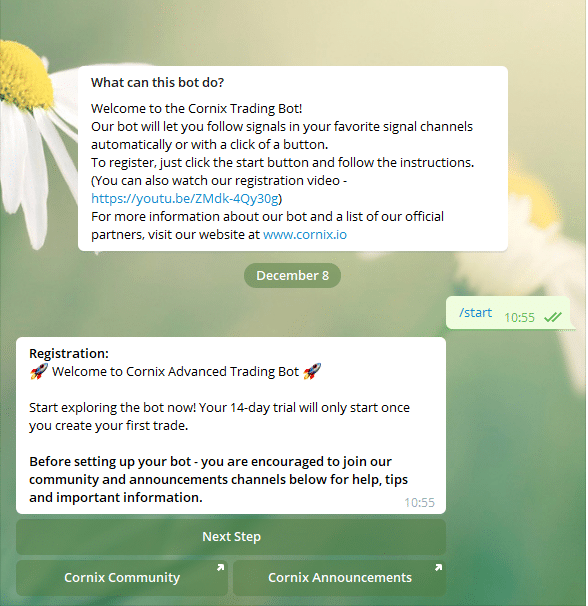
The Cornix Community and Cornix Announcement are both Cornix owned telegram groups. Cornix Community is an open group where you can message the Cornix team for any questions or help that you may need in setting up the bot. Cornix announcements is a super channel where Cornix team posts the latest updates that users may find useful.
Feel free to join either of those channels, but once you’re all set, press the Next Step button to get started. This will then direct you to the registration part of the conversation where you’ll be required to accept the terms of use:
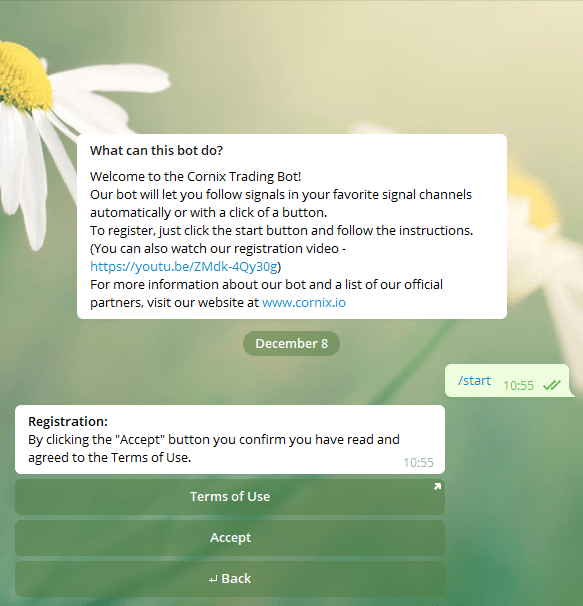
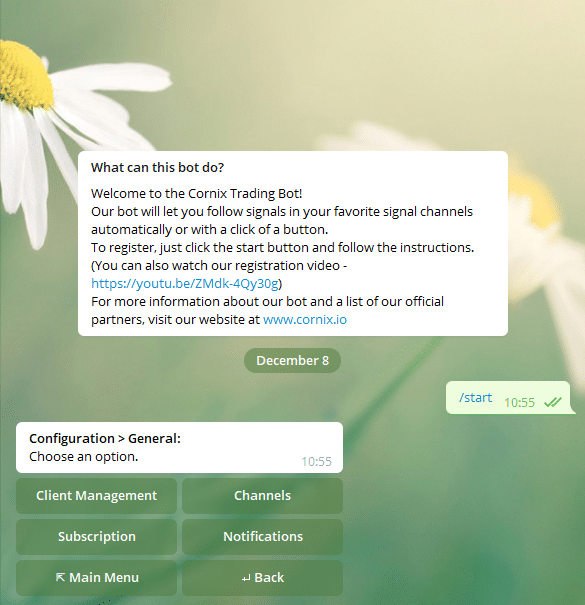
Once you’ve read through the terms of use, press Accept to move to the next stage of the Cornix registration process. The next screen you’ll get is the Cornix main menu
Before, I go into explaining what each section of the main menu does, I want to show you how to connect your Cornix bot to your chosen exchange. In this example, I’ll be connecting my bot to my Binance exchange account but the process will be more or less the same regardless of which exchange you’re using.
Connecting Cornix to an Exchange
To connect the Cornix bot to your chosen exchange, the first thing you’ll need to do is click the General Configuration button in the main menu. You should then see the next page below:
Next, click Client Management followed by Add, at which point you should then see the screen below with the following options:
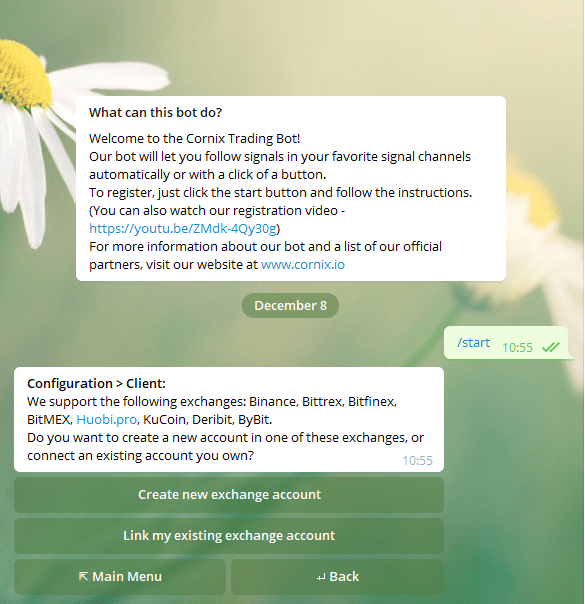
It’s at this point you can decide to create an account with the exchange you want your bot to trade on, or link to an already existing account. As most people who use the Cornix trading bot already have an account, we’re going to click the Link my existing exchange account button. However, the steps for creating a new exchange account is straightforward so don’t be afraid click that option if you don’t have one already. Once your account is created, come back to this guide to find out how to connect the Cornix to your newly created account.
Moving on, after clicking Link my existing exchange account, you’ll get the below screen giving you the option to choose which exchange you would like to connect to.

For this guide, we’re going to be connect a Binance account, so I’m going to choose Binance. However, feel free to choose whichever exchange you want to connect your bot to, the steps will be more or less the same.
Next, we get the option to set the client name. Just go ahead and press the top button, which in my case is Binance:
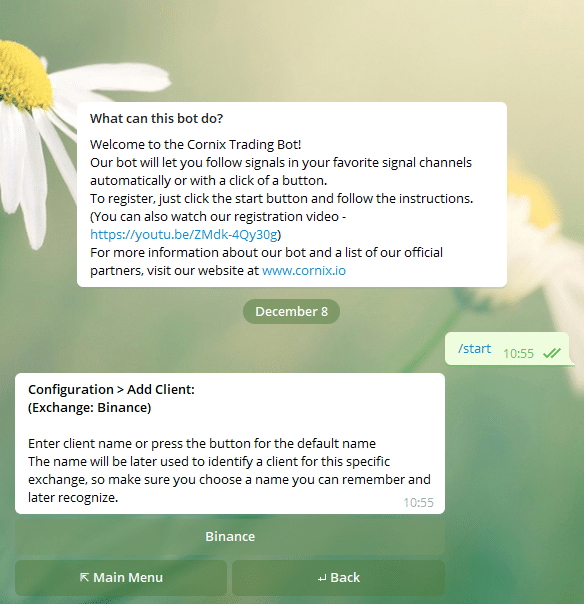
Next you should get the screen below:
Now this is where you’ll need to enter your API key/secret pair so the Cornix bot can create and manage trades on your behalf. It might be easier to get off your smartphone and do this on a computer, but what you’ll want to do next is click the Go to API Settings in the Cornix chat. This will take you to your chosen exchange, in my case Binance, where you’ll be able create your API key/secret combination.
If you’re on a computer, you can access API management section of Binance here: Binance API Management.
Getting your API Keys
Once you click the Go to API Settings button in Telegram, or the link above, you should see the below page:
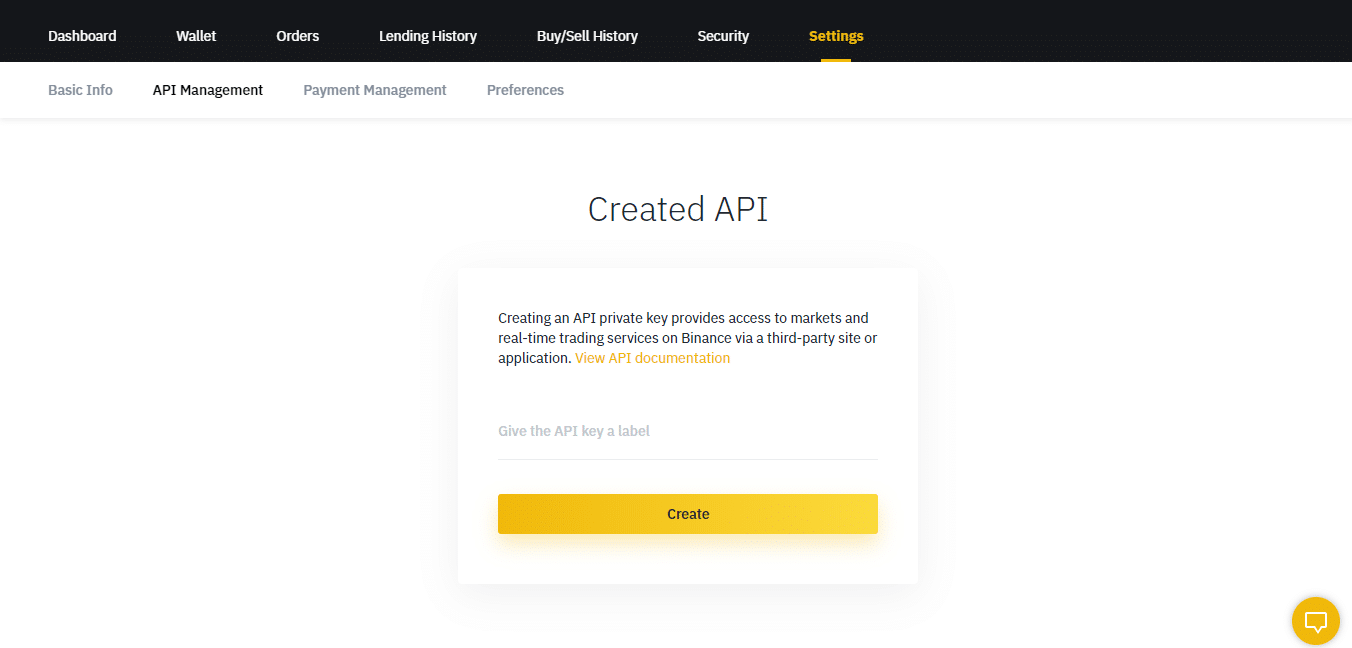
It’s here that you’ll give your API key a name so you’ll know what it’s referring to. Feel free to give it any name you want, but for now, I’m going to call it “CornixBot”.
In order to generate the API keys on Binance, you’ll first need to enable 2-Factor Authentication (2FA), either SMS authentication or google authentication. This may not be the case for other exchanges, in which case feel free to proceed.
When you’ve enabled 2FA and have created a name for your API keys, you should see the below screen:
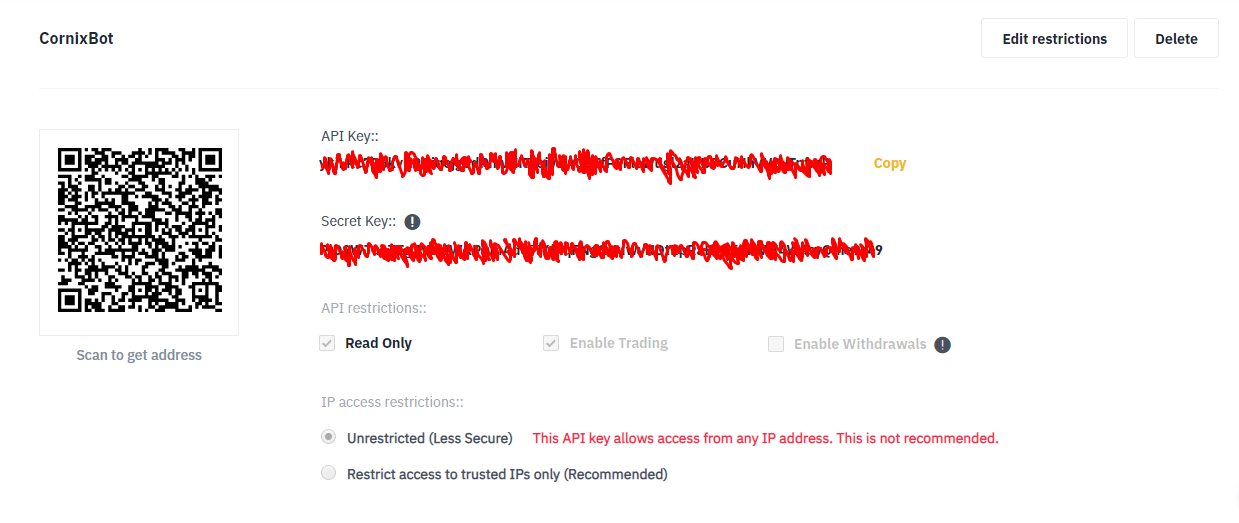
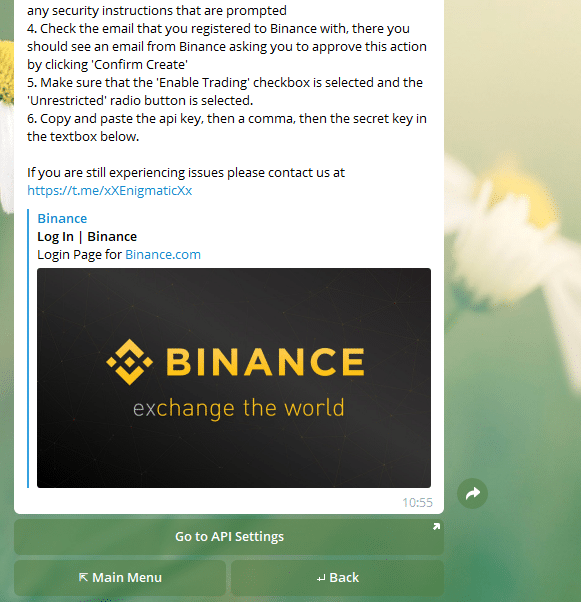
Your API Keys will be clearly visible for you to copy/type into the chat on Telegram you should still have going with the Cornix Trading Bot. One key thing to note for those generating the keys on Binance is that the secret key will only be displayed at the time of creation. If you lose it, you’ll need to delete the current API and create a new one!
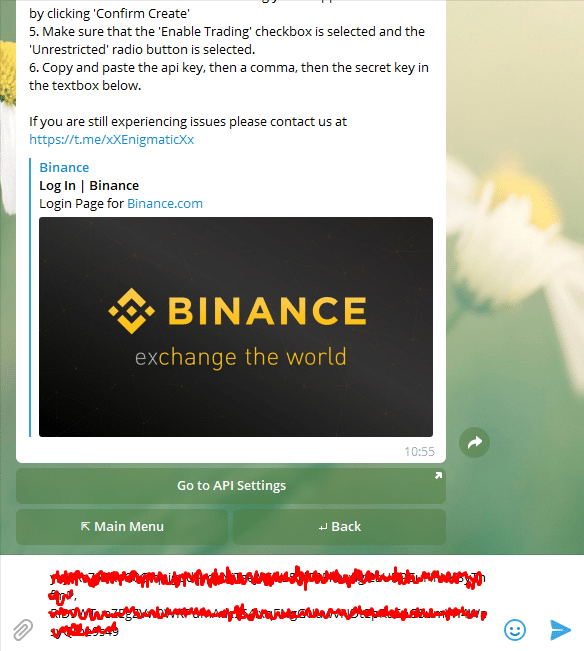
Depending on which exchange you’ve chosen to connect to Cornix, you’ll need to make sure you have the Enable Trading checkbox ticked and the Unrestricted radio button selected. Once that’s done, you can go ahead copy the API key followed by the secret key separated by a comma into the Cornix chat. It should look like this:
<API Key>, <Secret Key>
You’ll need to copy/type this into the Telegram conversation as previously mentioned like below:
After copying in the API and secret key, press send and you should hopefully see the screen below:
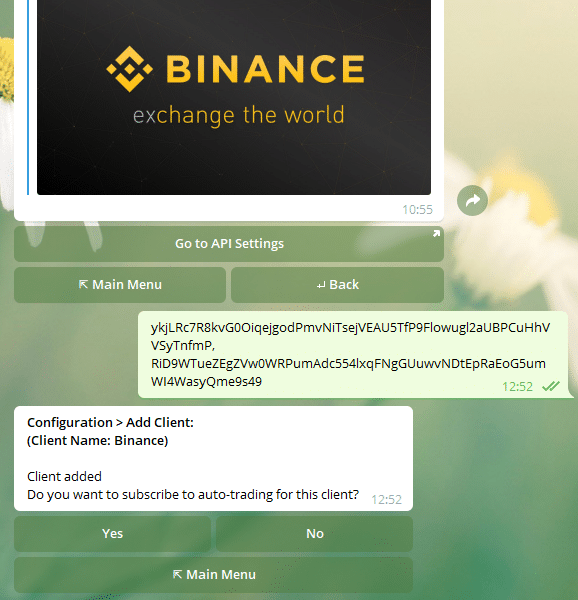
“Client added” means that you’ve successfully connected the Cornix bot to your exchange and you’re ready to start trading! It does also ask if you want to subscribe to auto trading, but we’re going to click No for now. I’ll talk more about auto trading and show you how to turn it on later in the guide.
If this is your first time, the bot may also ask you if you need help setting up your first trade, again just click No thanks – I’ll walk you through all that later in the guide.
After clicking no thanks, it should send you back to the main menu which is a good sign that everything went as it should have and your exchange is now connected to Cornix!
As previously promised, I’m now going to walk you through the main menu screen of the Cornix bot and explain some of the key functionalities you’ll most likely find yourself using the most. Let’s get straight into it!
Cornix Functionalities
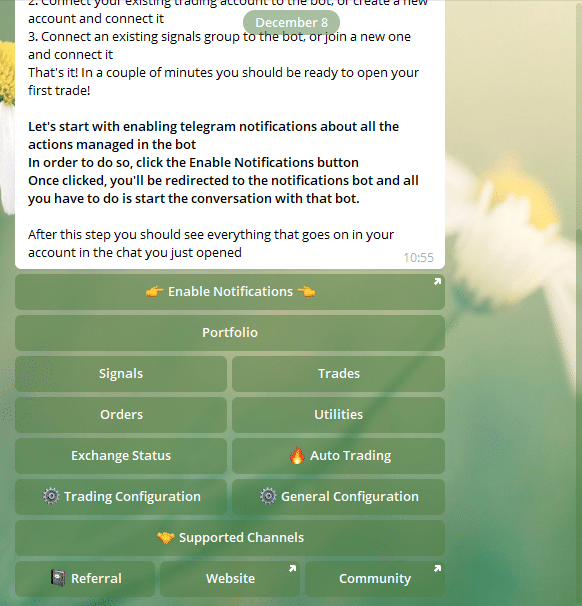
This is the screen you’ll spend most of your time on when using the bot. There are a lot of different options to choose from when on the main menu, but here’s a quick rundown of the most important ones:
Enable Notifications
You’ll definitely want to have notifications enabled as this will keep you updated on all the trades that are being managed through the Cornix bot. All notifications will come through a separate chat on telegram called Cornix Notifications.
Portfolio
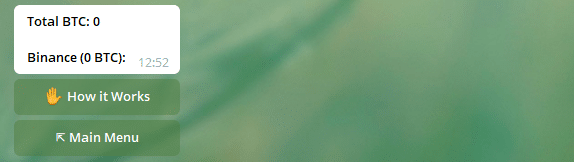
This section of the bot will show you all your active trades, the current return of that position, as well as what exchange the position is open on. This is a useful section if you just want to get a quick snapshot of how your portfolio is doing and if you’re currently turning a profit or making a loss. Understandably, this portfolio is currently empty as this is a dummy account created specifically for this guide.
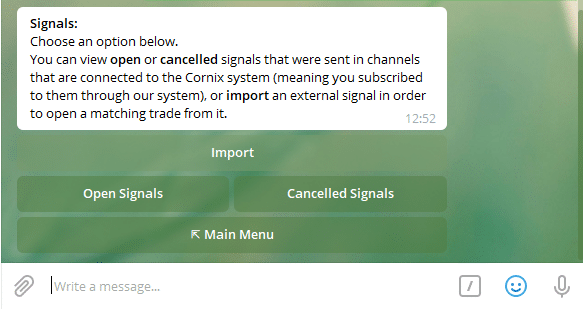
Signals
This section is where you’ll be able to manage all the signals (trades) that have been sent out by groups that you subscribe to. I’ll walk you through how exactly you can subscribe to groups and follow their signals in the next section of the guide.
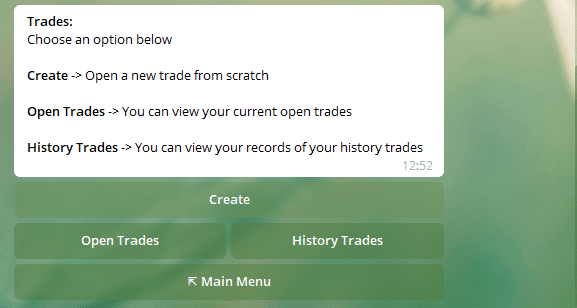
Trades
Here you’ll be able to create a new trade from scratch all through the bot, as well as manage any open trades and view your trade history. All this can be done on Cornix through your smartphone without having to log into the exchange!
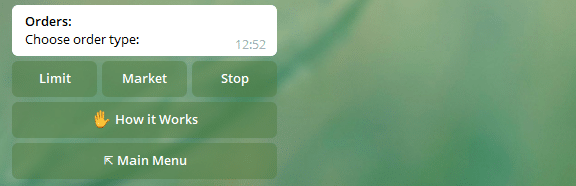
Orders
Here you’ll be able to create any order you like including: limit orders, market orders and stop orders.
Utilities
The utilities section are things you might useful during your day to day of using the Cornix bot. One current popular utility is conversion. If for example you had any altcoins lying about that you don’t really use, you can use the Cornix conversion feature to convert it to BTC.
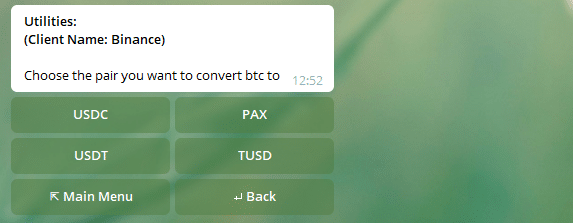
You can pick the exchange and then the altcoin you want to convert to BTC all with the click of a button.
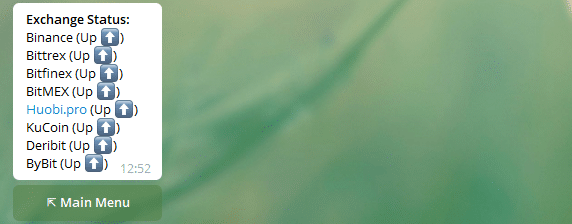
Exchange Status
Exchange status is quick and easy way to know whether an exchange is down or not.
Trading Configuration
Trading Configuration is the section of Cornix that allows you to manage various aspects of your trades in one place:
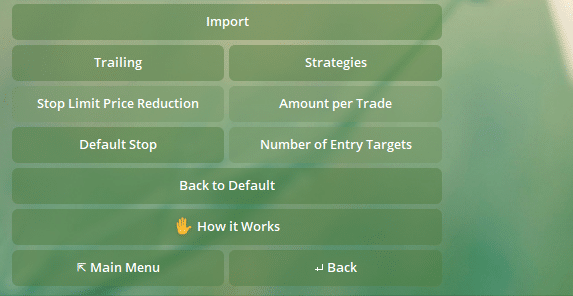
You can set any strategies that you may have, amount per trade, default stop and many more in this section. Setting trading configurations in Cornix can often be complex which is why I’ll be writing a separate guide that covers every aspect of it at a later date. In the meantime, I would very much encourage you to have a look around and try to pick things up for yourself.
Now, before we get into the auto trading section, I want to walk you through exactly how to subscribe to a channel on Cornix – which can done in the General Configuration section.
Subscribing to a Crypto Signal Channel
In order to add a subscribe to a signal channel, you’ll first need to join a signal group. If you’re not sure what crypto signals are, then check out my other guide: Crypto Trading Signals, An Ultimate Beginner’s Guide to get started.
After successfully joining a signals group, in the main menu of the Cornix bot, you'll want to click General Configuration > Channels > Subscribe to Channel. The next screen you should see will have a list of all available channels for you to subscribe to:
Note: If you've been recently added to a signal channel, it can take up to 30 minutes for the channel name to appear so if you don't see it immediately, give it sometime.
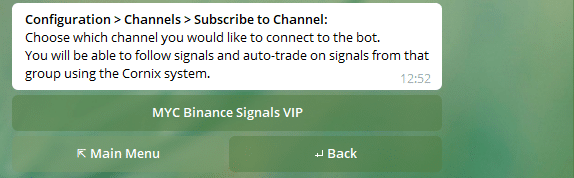
As you can see from the image, the channel available for me to subscribe to is: MYC Binance Signals VIP. Click the channel you want to subscribe to and you should get the screen below:
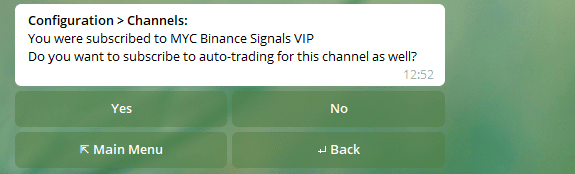
Now, you can choose to also subscribe to auto-trading if you want, but I’m going to go through exactly what that is in the next section of the guide so just like No for now.
After clicking no, you’ll be returned to the home screen and that should be it! You’ll have successfully added a channel to your Cornix bot!
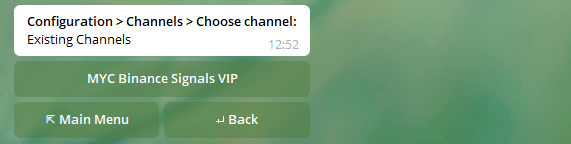
You can confirm that the channel was successfully added by going to the main menu and clicking: General Configuration > Channels > Existing Channel Subscriptions. If you see the channel there like below, it means it was successfully added!
In the last section of the guide, I’m going to take you through auto-trading on Cornix and tell you exactly why it’s one of my most favourite features of the bot!
Auto Trading
The auto trading feature allows you to follow the trades of any signal provider that you subscribe to. Instead of manually following a trade as soon as a signal is released, Cornix can do it for you automatically.
Some of the things that can be handled with the Cornix auto trading feature includes: opening trades, taking profits and triggering stop loss targets.
To enable auto trading, all you need to do is go to the main menu of the Cornix bot and click Auto Trading. You’ll then be prompted to read and accept Cornix’s terms & conditions for auto trading. Once accepted, you should then see the screen below:

This screen will display the list of exchanges that you can turn on auto trading for. Cornix will only show you exchanges which you’ve connected to the bot; as I’ve connected Binance, that’s the only one I’ll see.
If you wanted to auto trade on other exchanges, you’ll need to make sure that you’ve connected them to Cornix. Once done, go ahead and choose the exchange, which in my case is Binance. You’ll then be promoted to the next screen:

Make sure to click Enable and instead of subscribe to new channel. Once you’ve done that, you’ll then be thrown back to the home screen which is an indication that auto trading has successfully been enabled. However, to turn it on for a specific channel, you’ll need to do the following steps: Auto Trading > Choose Client > Binance (specific to me) > Subscribe to Channel.
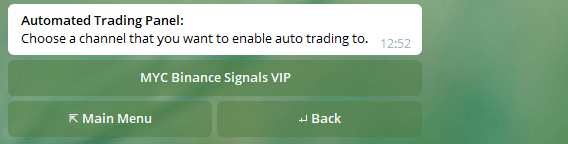
All you need to do now is select the channel you want to turn on auto trading for at which point you’ll be sent to the next screen:
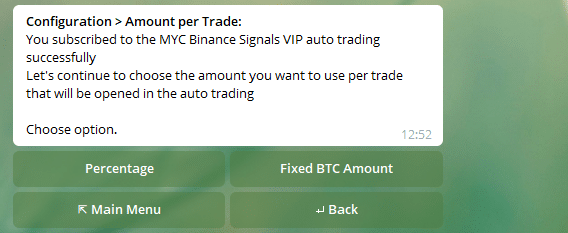
When you get to this screen, it means auto trading for your chosen channel has successfully been switched on! All you need to do now is select how much you want to be used per trade which can be done either by selecting a fixed BTC amount, or as a percentage of your current holdings.
Once all that’s done, you can be certain that auto trading has been turned on and that your Cornix journey is at an end!
Conclusion
To conclude, Cornix is a seriously powerful bot that can allow you to efficiently generate returns if done properly, all on your smartphone. As long as you choose a crypto trading signal provider that you trust, Cornix can make your life substantially easier when it comes to managing those signals .
To find out more about Cornix, check out their website: Cornix.io.
